The Latvian relationship with trees is unique. One looks for strength in trees, planting a linden or an oak by the house, others fight to preserve forests and trees in cities..
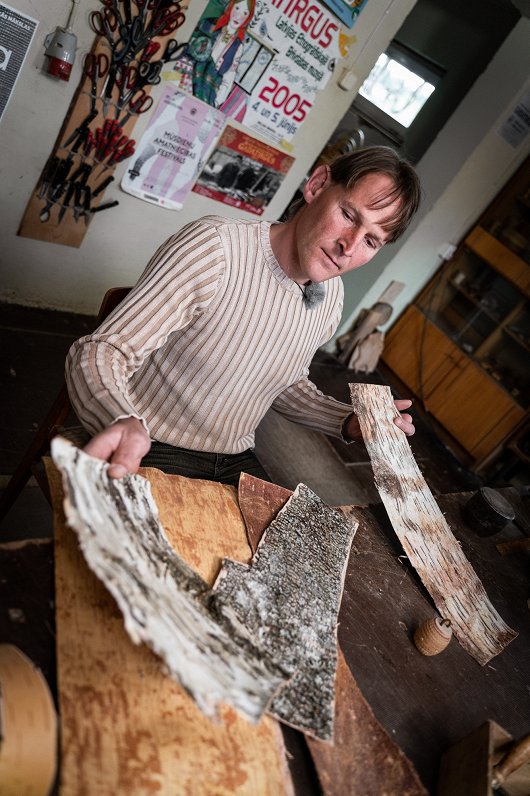
Kaspars Zvirbulis belongs to the only dynasty of birch bark masters. He practices his trade both in workshop and in masterclasses. In crafts-related matters, Kaspars can be contacted on 25664929 or via Facebook.
Nowadays the skill of using bark to make containers and dishes has nearly disappeared, and many have entrusted the storage function to plastic boxes. Those lack natural beauty - it is worth trying to make one of natural materials by your own hand.
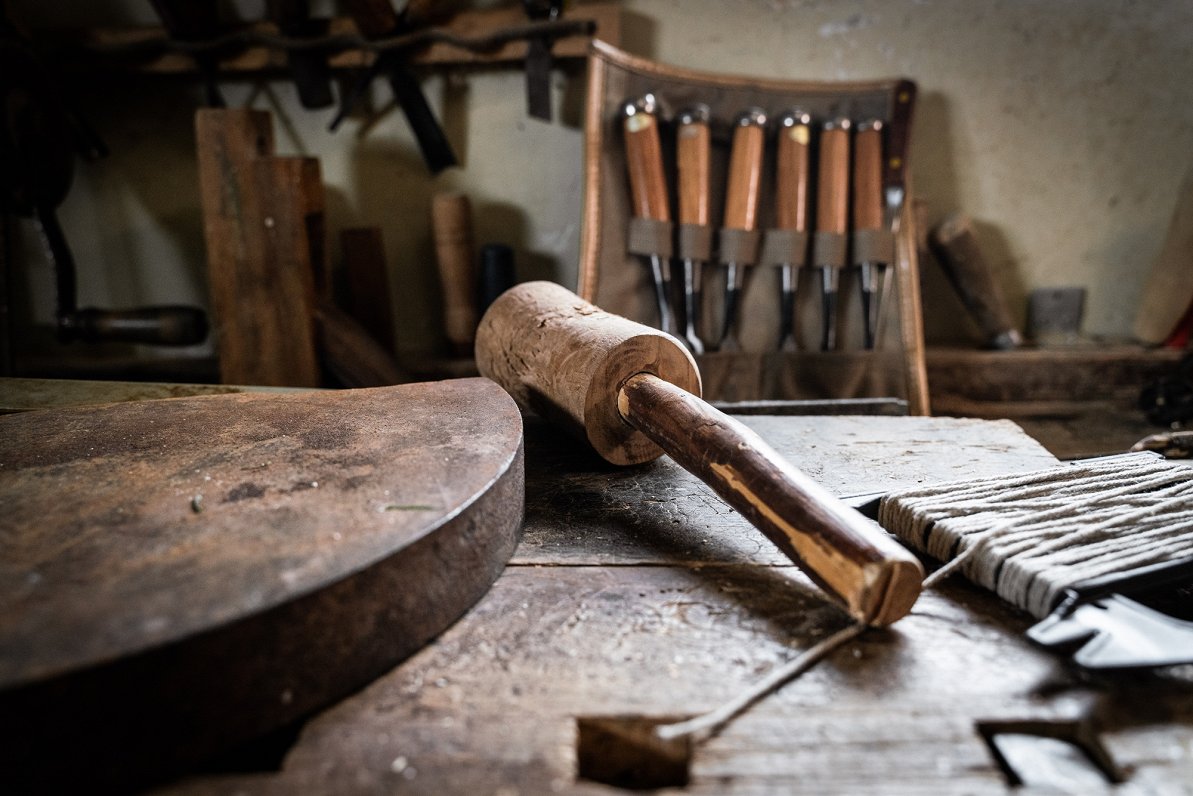
Tools and materials:
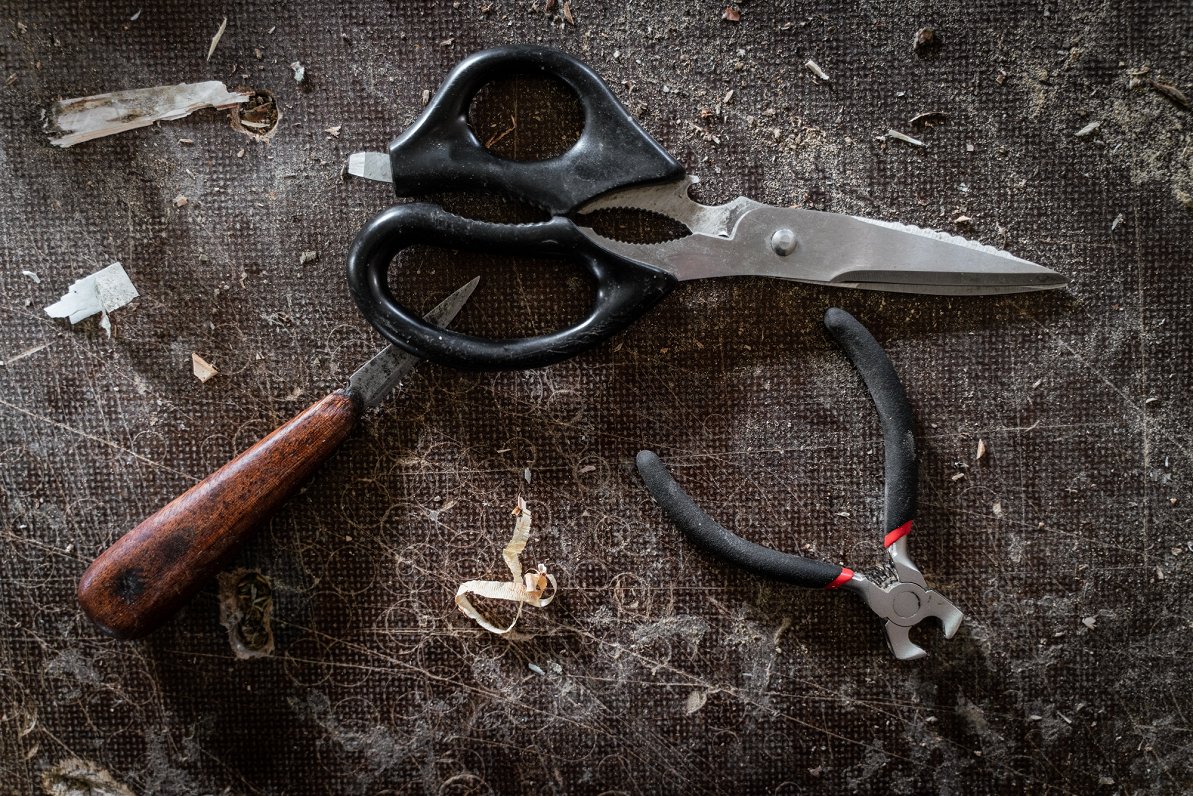
- Sharp knife;
- Scissors;
- Figurine saw;
- Sandpaper;
- Jagged scissors;
- Hot water container;
- Chisel;
- Pliers;
- Hammer;
- Drill.
Creation process:
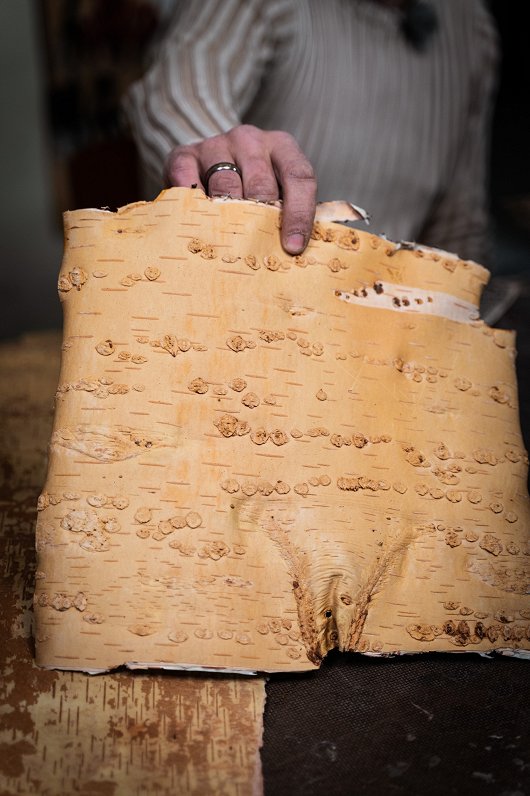
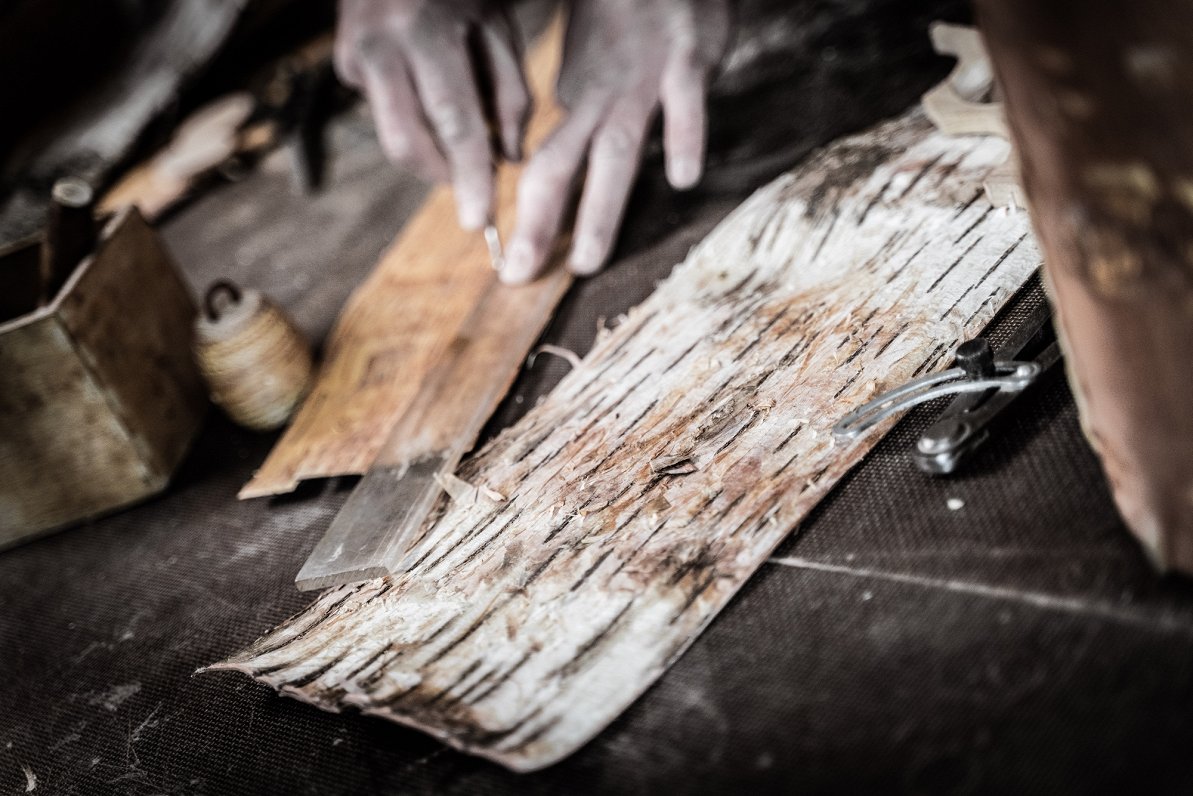
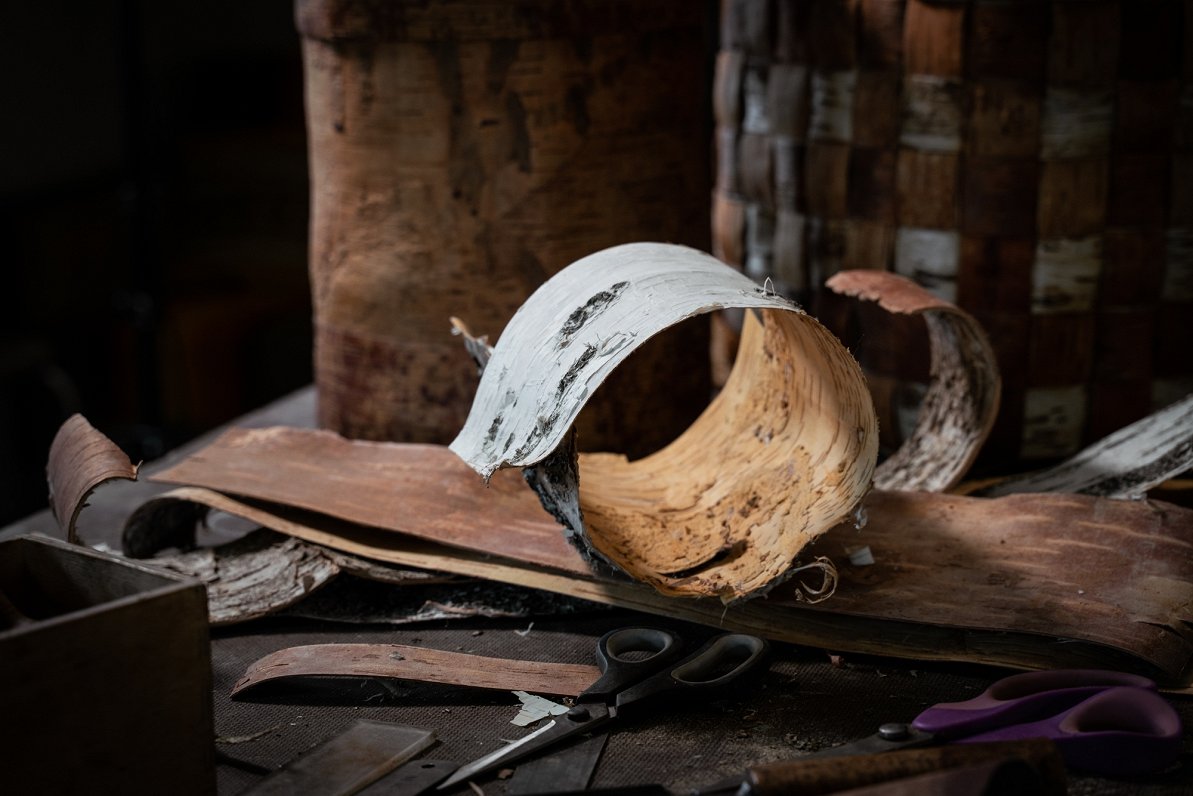
- Boxes can be made of either fresh or dried birch bark.
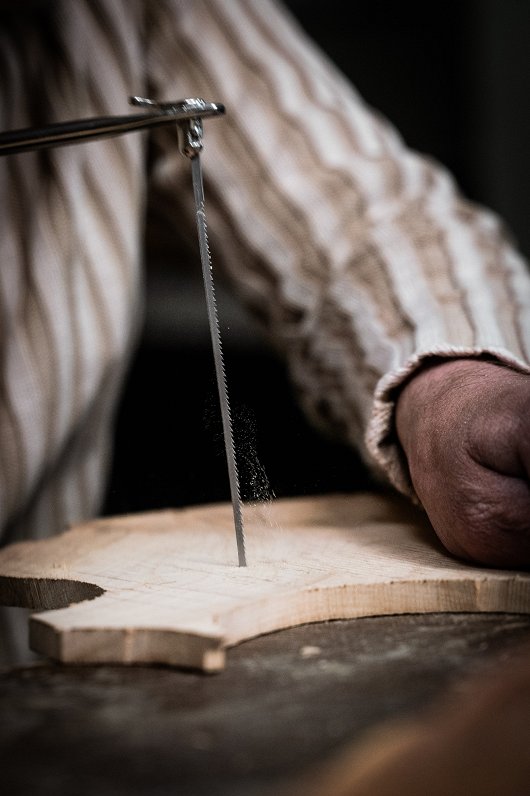
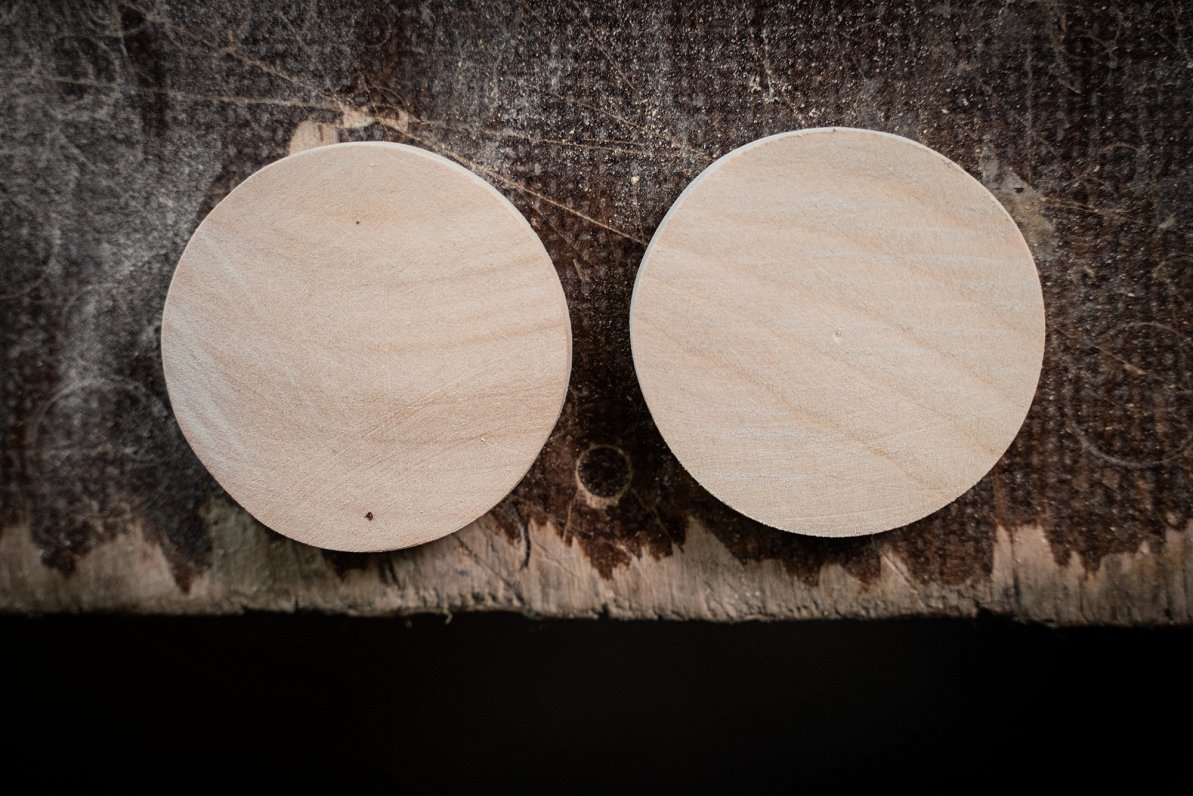
- In order to make a small container, a round bottom and cap is first cut out of a wooden plank with a figurine saw. Choose the size yourself. Polish the two round shapes with sandpaper.
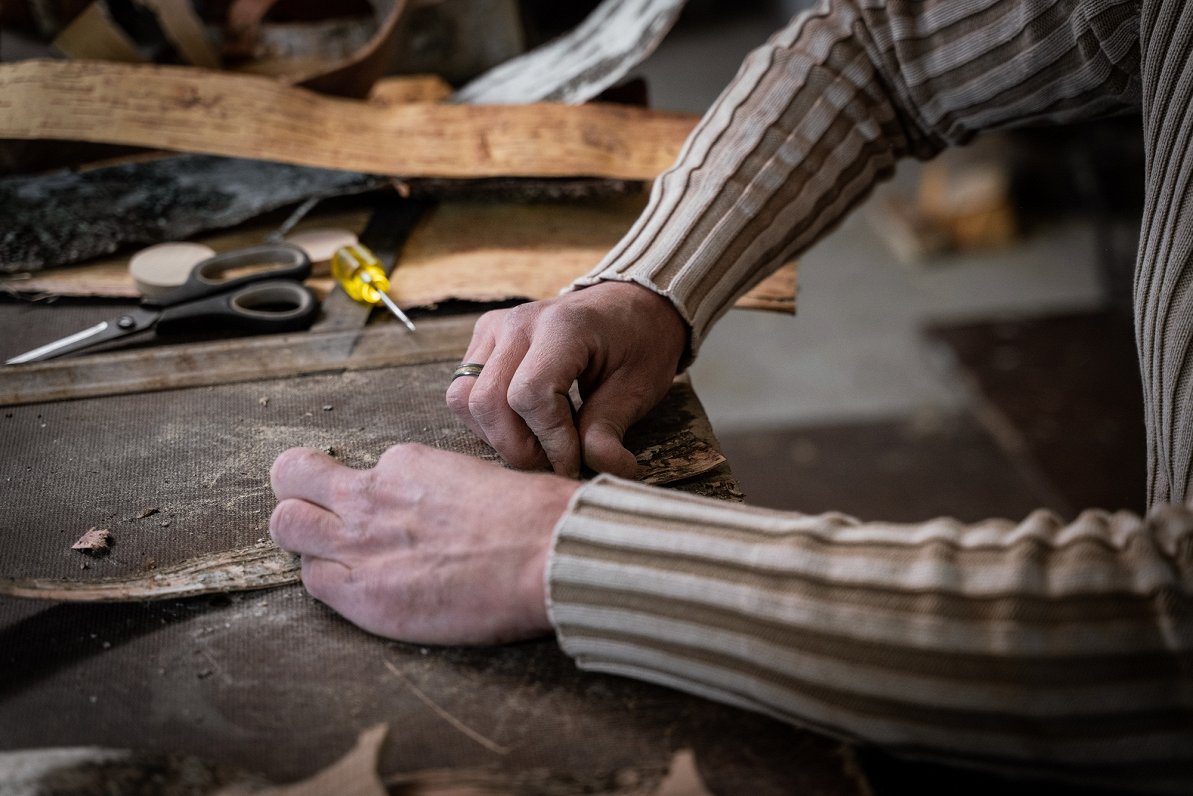
- The outside of the container uses the inner side of the bark, as it is smoother. Smooth both sides further with a knife.
- Make small "nails" out of sticks or matches.
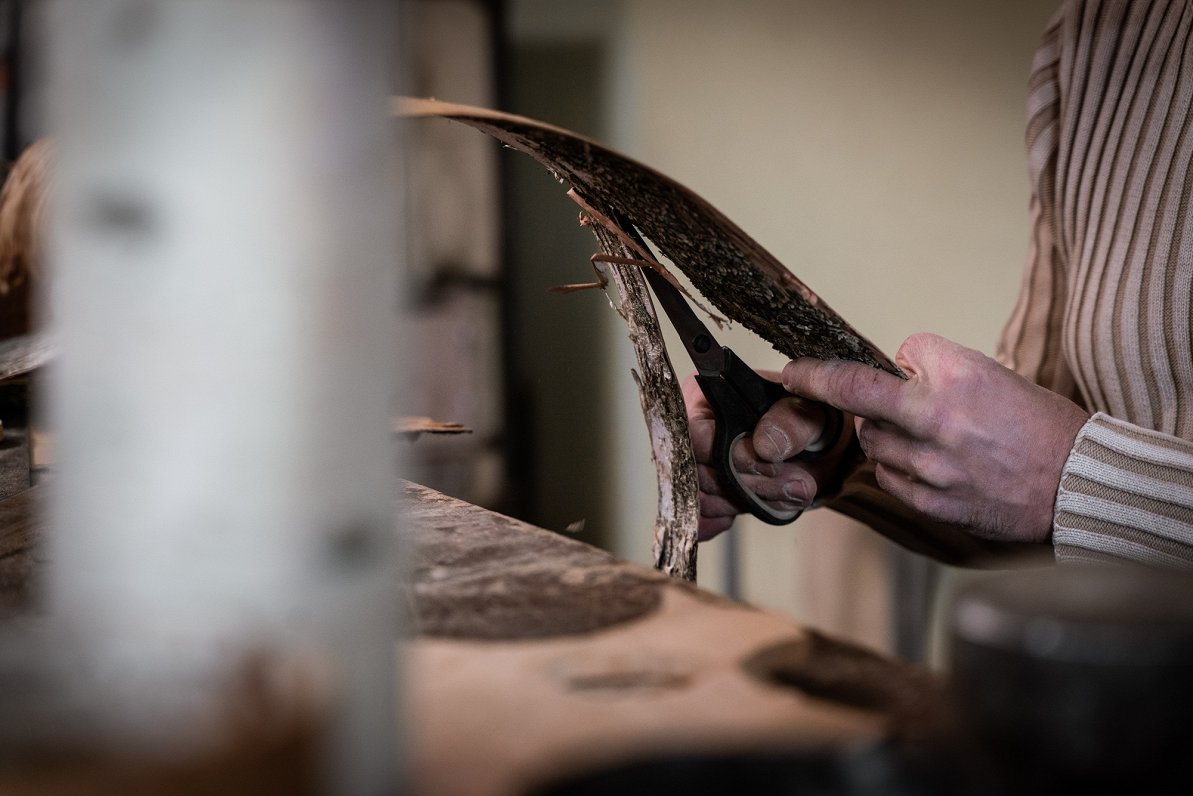
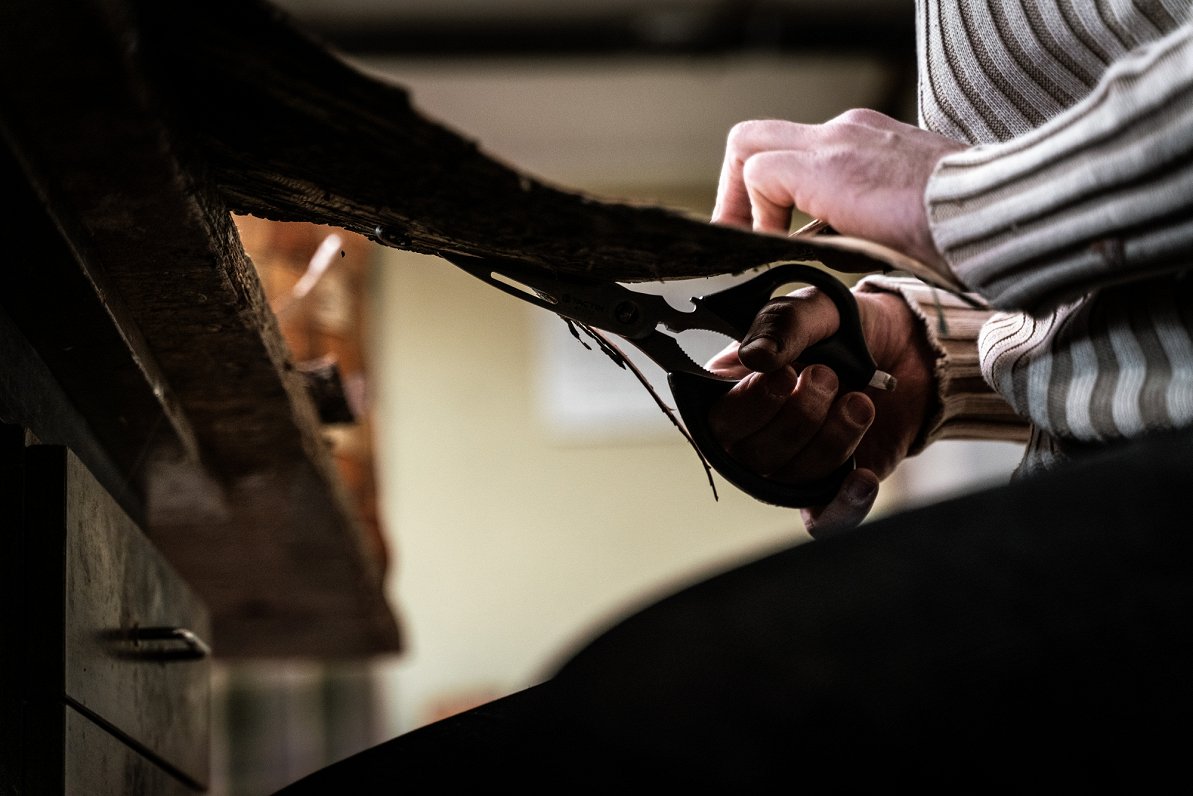
- Cut three strips of the bark with scissors. The width of the strips will shape the height of the container. One strip will be the outer body, the other inner, third decorative.
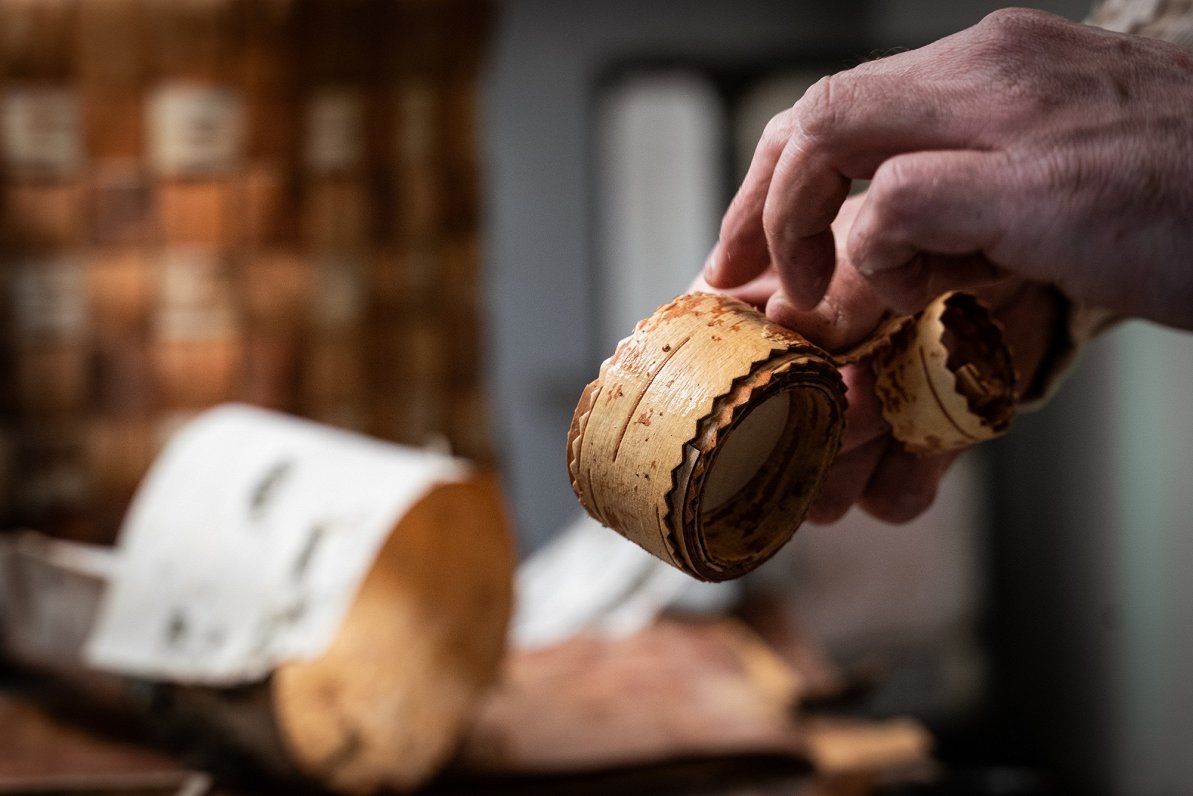
- The outer strip is cut conical. The edges can be handled with jagged scissors.
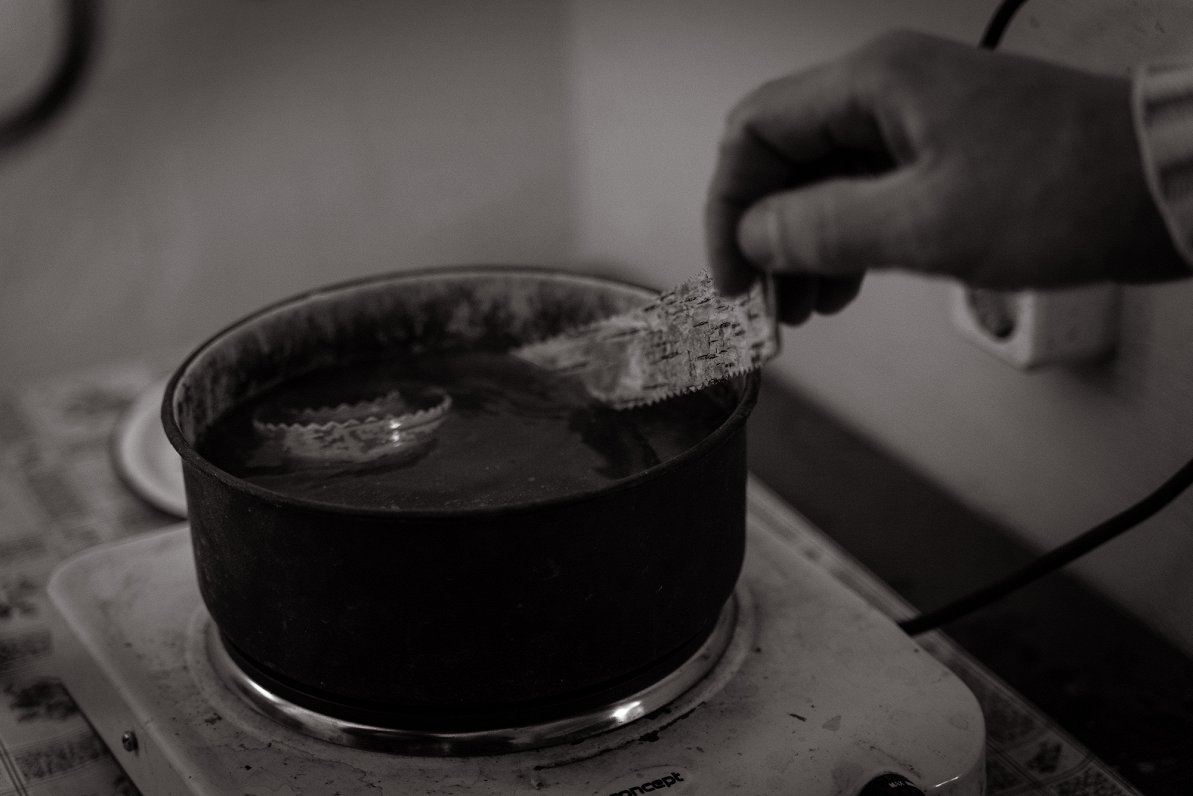
- Soak the strips briefly in hot water so they are more flexible.
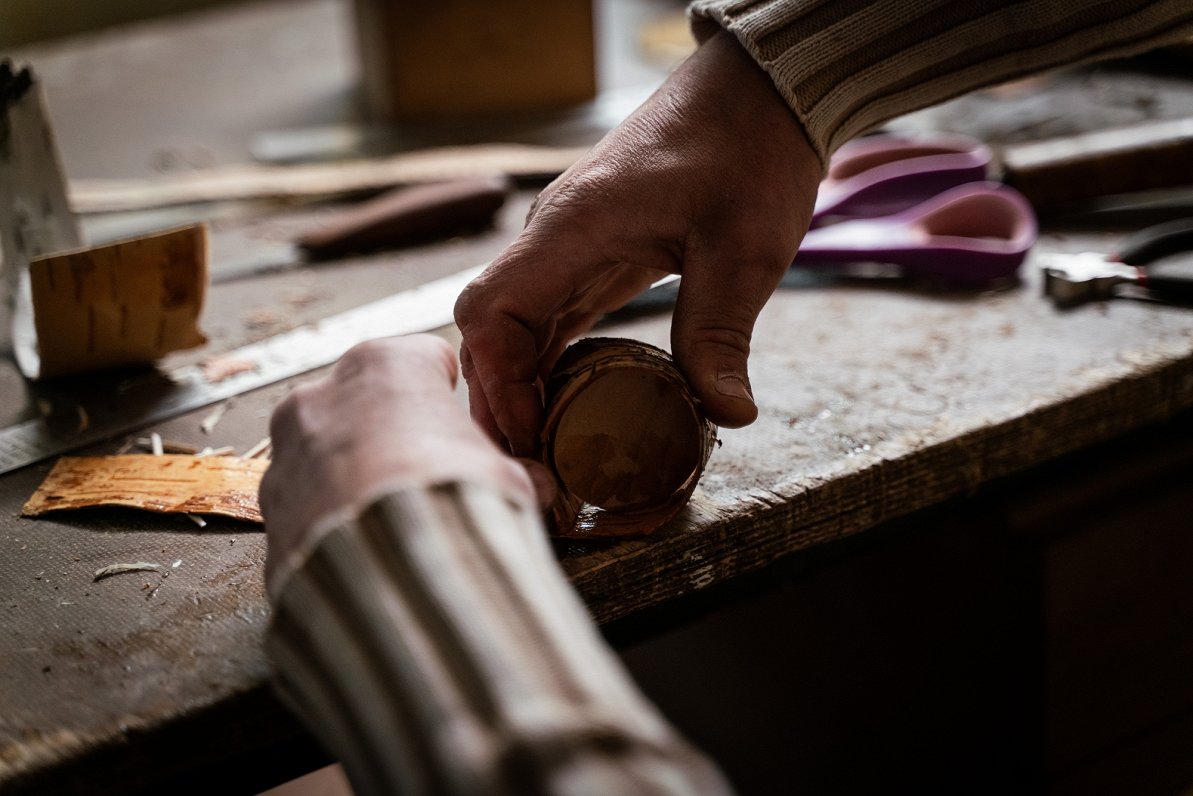
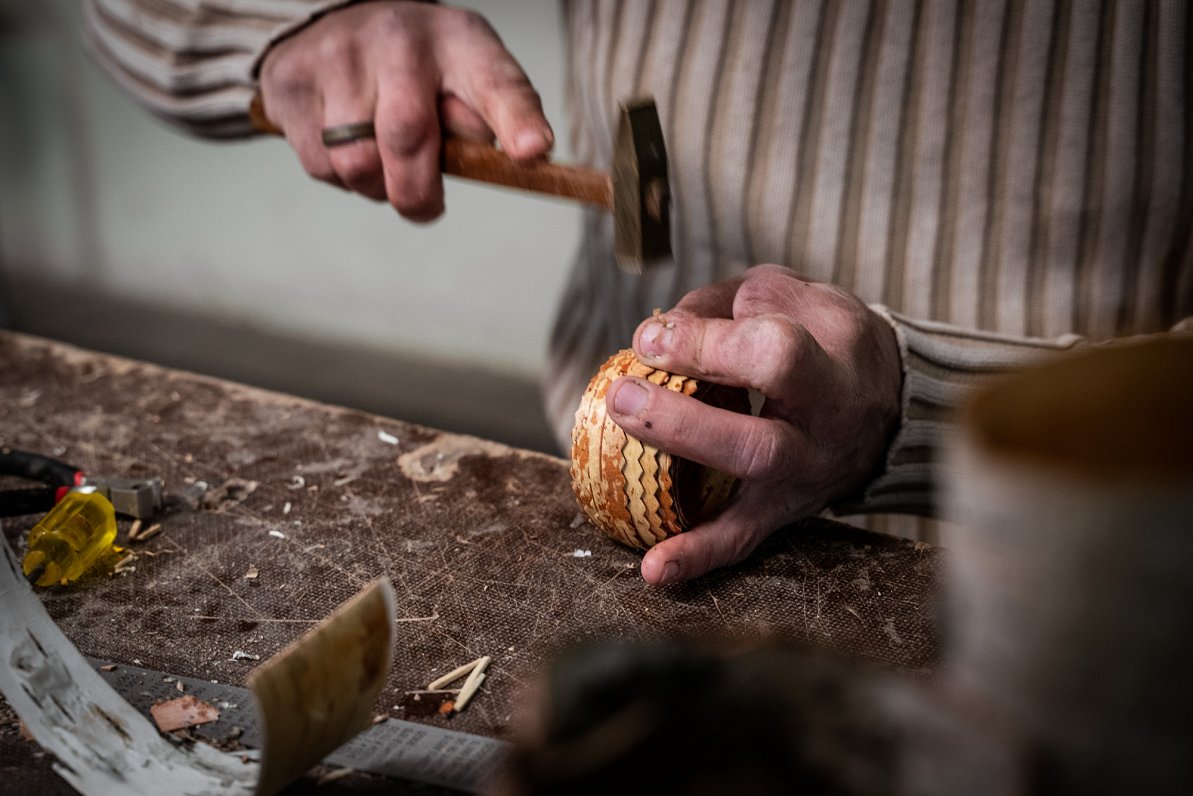
- Take the cut-out bottom, wrap a bark strip around it tightly. The bottom is slightly slanted in the middle of the article at this point, the white side of the bark being rolled outwards.
- Poke a hole and attach the bark with a wooden nail a few centimetres from the edge.
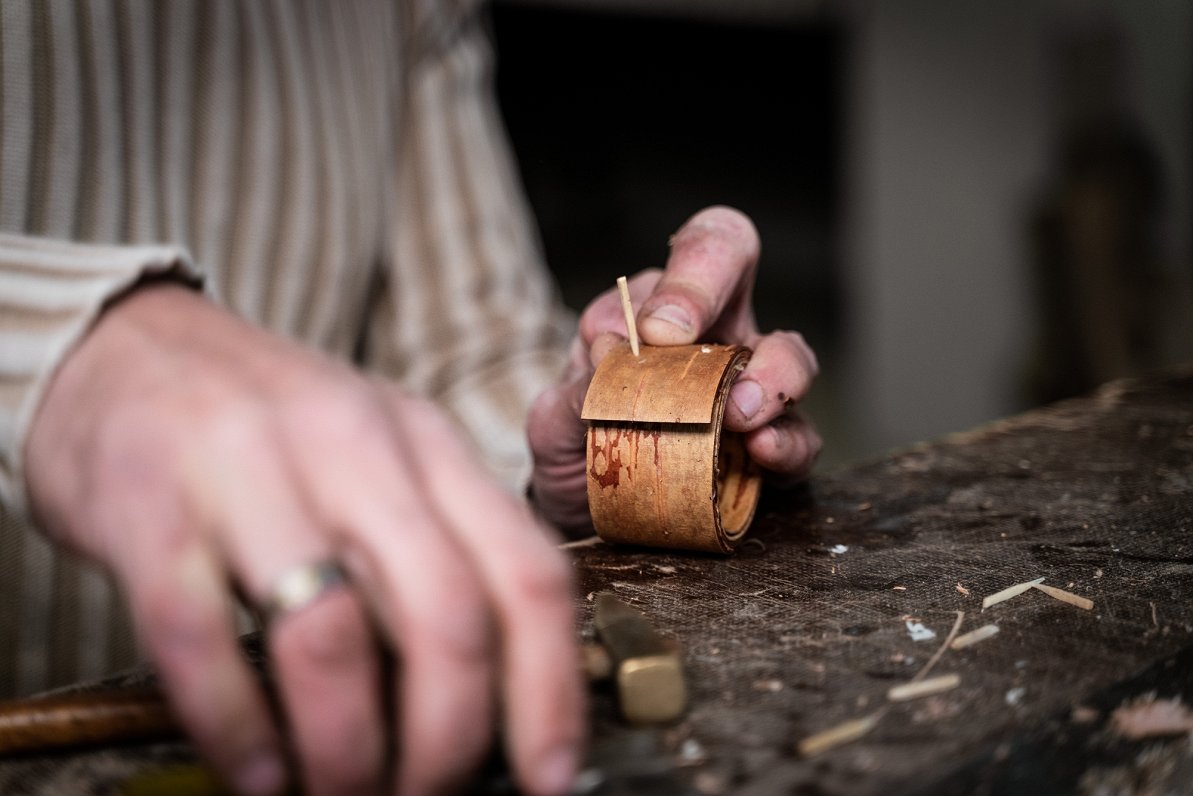
- The second strip is placed with the dark side out. Wrap it tightly and secure with wooden nails.
- The decorative strip shall be wrapped firmly to ensure that each subsequent layer is centered and does not cover the decorative edge of the previous layer.
- Push the bottom to the edge of the container with your fingers and secure it with a few wooden nails.
- Polish with sandpaper.
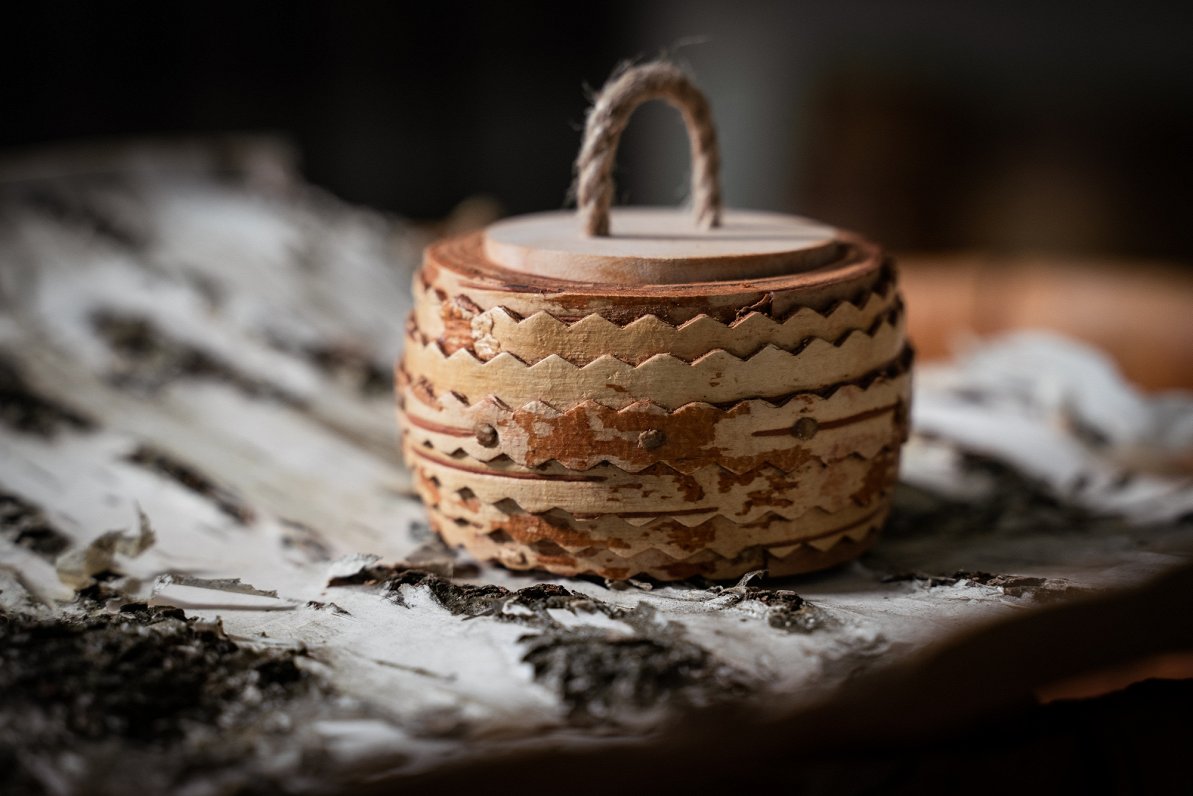
- The container can be brushed with beeswax or cooking oil for a bit of gloss.
- The cap is made by slanting the edges a little and drilling one or two holes in it, inserting rope or cord to make a handle.